Date |
Event |
Time Used |
$$$ |
| 1-Oct-00 |
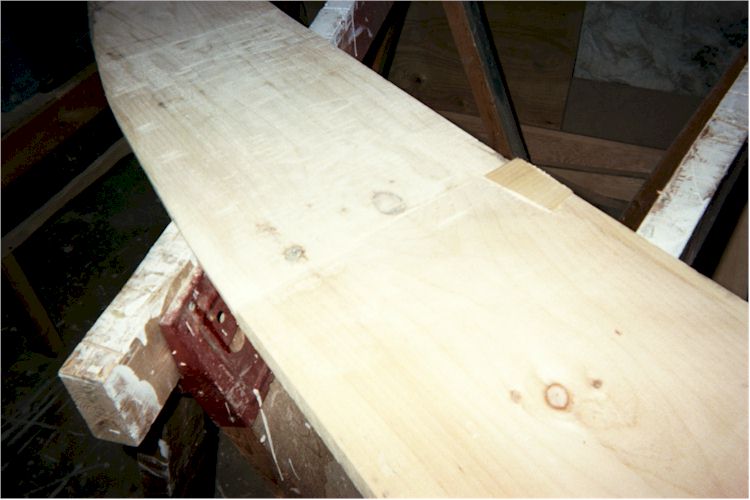
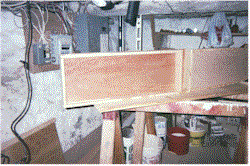
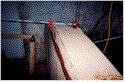
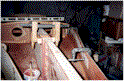
My daughter and I attached
the side stringers to the hull. It was a slow process and I was surprised by how
much the stringers bent. I was "sure" that they would break. I
attached them with 3/4" screws and waterproof glue. Some mistakes that I had
made in cutting out the hull were more apparent now so I spent some time with my surface
forming plane smoothing out the high spots. There was one section that was off by
1/4", but there shouldn't be much filling required to fair it out. |
3.0 |
|
| 2-Oct-00 |
Attach top and bottom
stringers to the aft bulkhead and port cockpit side. I broke one stringer trying to
bend it from too far away from the point where I was fastening. After I switched to
a pipe clamp at the correct spot it went better.
I have now hit my first (in my mind) significant problem. The plans call for the
cockpit sides to be 16" from the centre of the bulkhead. With the bulkheads
that I made, it came to more like 17 1/2" to get them to match up. I've marked
them at 17 1/2 inches for later assembly and sent an email to the Stevensons for feedback.
I have concerns about whether I will need to reinforce the hull over the bulkhead.
Also, I will be adding extra blocks behind the bulkheads and sides later in order
to be able to attach things like a paddle and straps etc.
I have also run out of stringers. I saved the four best stringers for use in the
hull and deck, and pre-cut the bevelled stringers for the cockpit side tops and bottoms.
I can cut more square stringers to use on the ends and on the forward bulkhead.
According to the plans, cutting 3/4" material from a 1X6 should have given me
7 stringers. I ended up with 6 and a bit. Probably due to the wide kerf on my
table saw blade. With the price of fir, perhaps I should have used a narrower blade. |
2.5 |
|
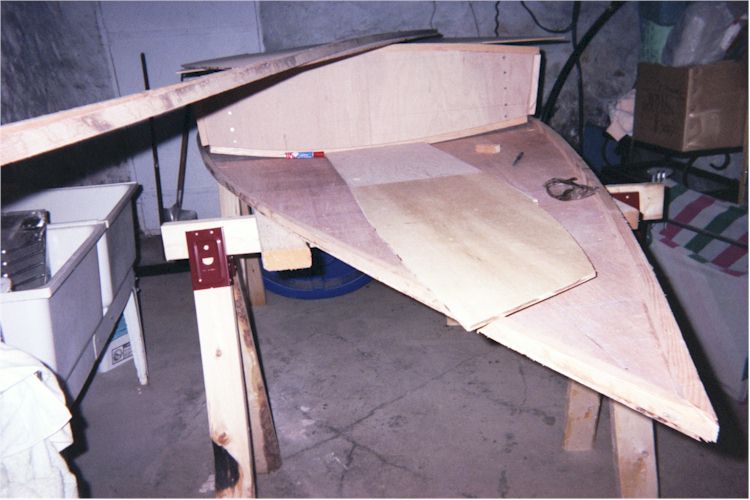
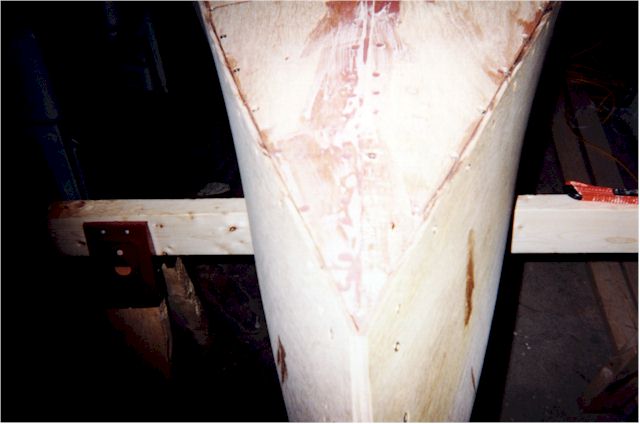
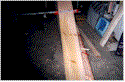
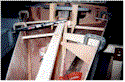
7-Oct-00
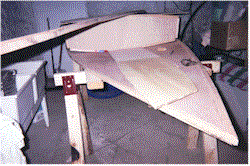
It's 3-D - but will it fit out the door? |
Cut 3 more stringers out of
the 1X6 that needs to be a 1X2 1/2. Attach stringers to cockpit sides, bulkheads and
screw the unit together. It worked well temporarily tacking the structure together
with finish nails while sitting on the hull and then setting it on saw-horses for the
remaining attachments. Even though it's not mentioned in the plans, I should have
used bevelled stringer for the sides of the bulkheads. The square ones that I used
will probably have to be bevelled later. |
5.0 |
|
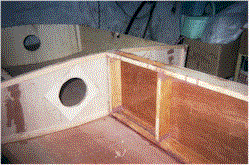
8-Oct-00
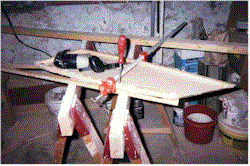
Attaching the stringers to both sides
SNAP! |
Attach stringers to both
sides of the bow bulkhead. Crack one, split another, re-glue and screw them back
together (after much thought on ripping them off and doing it again). Also make bow
gussets and top panel joiners out of end of 2X4 from the main panel joiner. I made
the top joiners over-size to possibly add support to the deck. I can always make
them smaller ...
Decide to be clever and deviate from the plans and lap-joint the bulkhead sides to make a
smooth panel. AFTER doing this and measuring, it turns out I may have made the sides
at least 1" too short (4" lap joint) Hopefully I'm wrong, I'll find out in
a dry-fit of the sides. Note - a later dry fit seems to indicate that I will have
enough wood. I have some concerns on the strength of this joint, and other's I've
asked also don't think it would be as strong as but-joining and using a backer
block. We'll have to see how it holds up. |
3.0 |
|
| 18-Oct-00 |
While at a trade show in
Toronto, stop by Fogh Marine and pick up three access hatches for the fore and aft
bulkheads and some drain plugs. I looked at their rope loops, but at $5.00 each, I
decided to check elsewhere for galvanised. |
|
74.60 |
| 21-Oct-00 |
Stopped by Welbeck to see
their Halloween promotion (face painting, carving pumpkins with power tools) and picked up
a grommeting set for sails. The plans call for the sails to be wrapped around the
boom and spar, but I'm going to try a rig more similar to the Sunfish. I like the
idea of having an out-haul. |
|
7.34 |
| 27-Oct-00 |
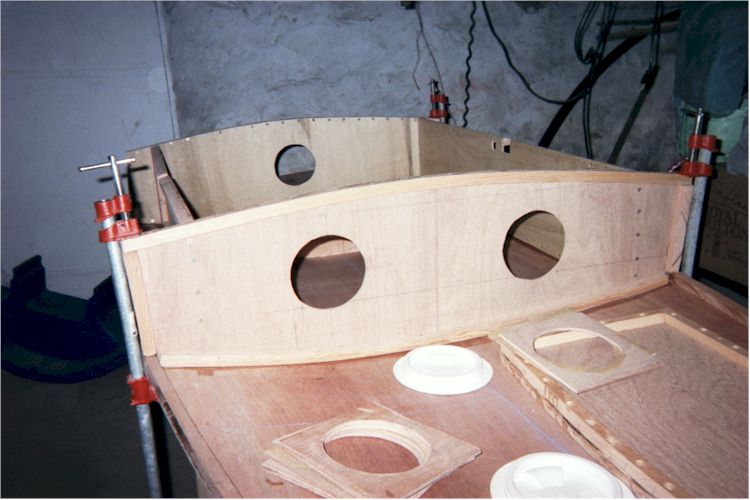
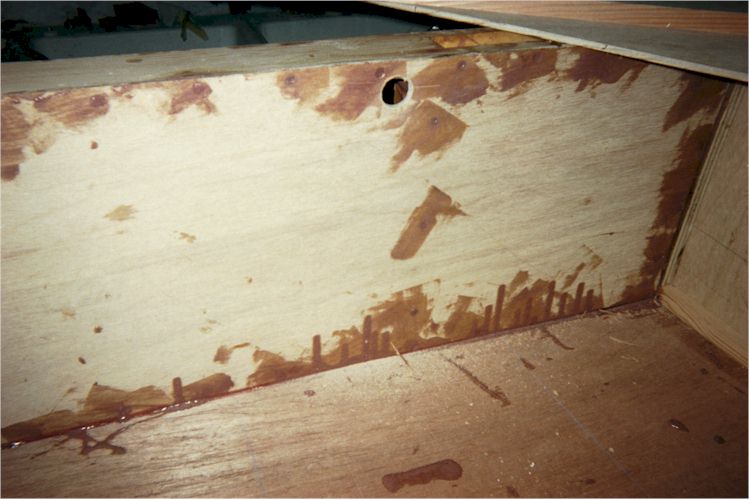
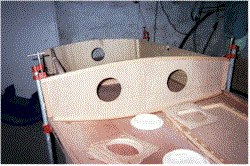
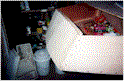
One step close to 3-D.
I've cut holes for my access covers (2 front and one aft) and the drain plugs
(accidentally at the top of the cockpit). Now I can glue down the cockpit since I
won't have to move it around to make the holes. I also took some scrap 1/4"
plywood and cut holes in them as well to give a solid surface for the screws holding the
access covers in. I'll glue those on later, 2 per cover. Not much else has
been done lately. I built a set of "wings" for my table saw to make a larger
working surface for when I work on the dagger-board last week, and also built some
bird-feeders with the kids. I have needed the table saw wings anyway, so I'm not
counting that time. |
1.0 |
|
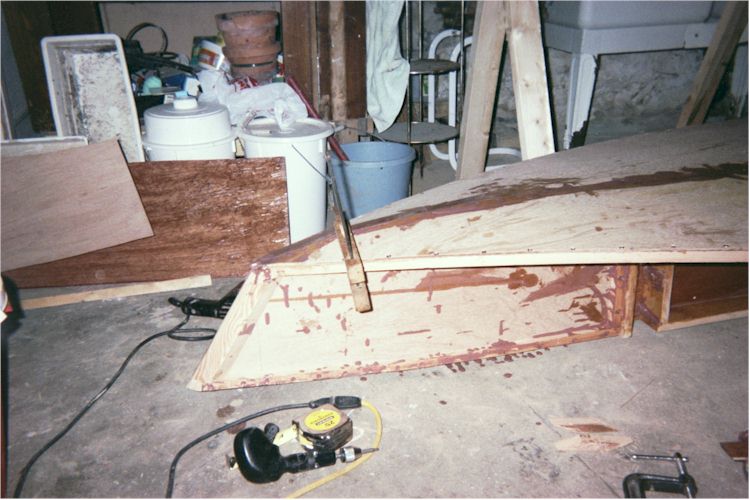
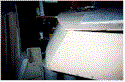
28-Oct-00
It might even float - I need more clamps though |
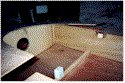
Glue cockpit down on the
hull. I'm now 3-D - hooray! |
2.0 |
|
| 31-Oct-00 |
Pick up a mast from Metal Supermarkets $2.63/foot before taxes and
$2.00 to cut. A very good price. |
|
38.59 |
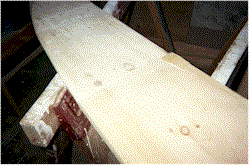
3-Nov-00

DaggerBoard Taper |
Make the daggerboard. I
decided to play some with foil shapes and jigs here. Check out the link to the left for
more of that saga |
2.0 |
|
| 4-Nov-00 |
Cut proper shape into the
dagger-board and start sanding smooth. I'm not 100% sure I like how thin the board
is at the narrow end though. |
2.5 |
|
| 5-Nov-00 |
Sand the dagger-board some
more.
Cut out pieces for dagger-board/mast box. Use my table saw to cut the slot in the
top and bottom for the daggerboard with the top and bottoms glued together with hot glue
to guarantee a consistent result. Fix a minor split in the end of the top board
caused by too-enthusiastic chiselling with some 5-minute epoxy left over from another
project |
3.0 |
|
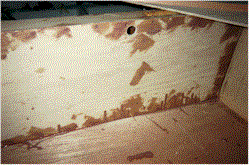
6-Nov-00
Here's the front |
Attach one side to the
dagger-board/mast box. I deviated from the instructions by attaching the bow
bulkhead to the fore end piece of the box prior to assembling the box. It makes the
whole structure more solid. I have yet to figure out how best to attach the box to
the foreword bulkhead. It's too bad that the bottom of the bow frame is off centre by
1/4" and seems to point a bit to starboard. |
1.5 |
|
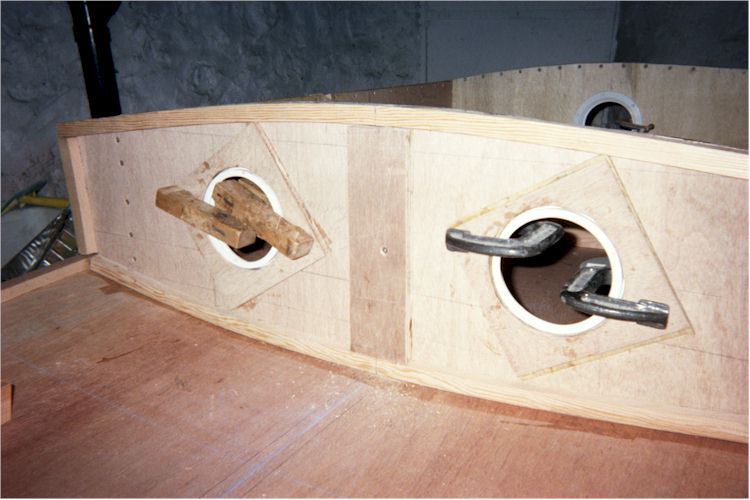
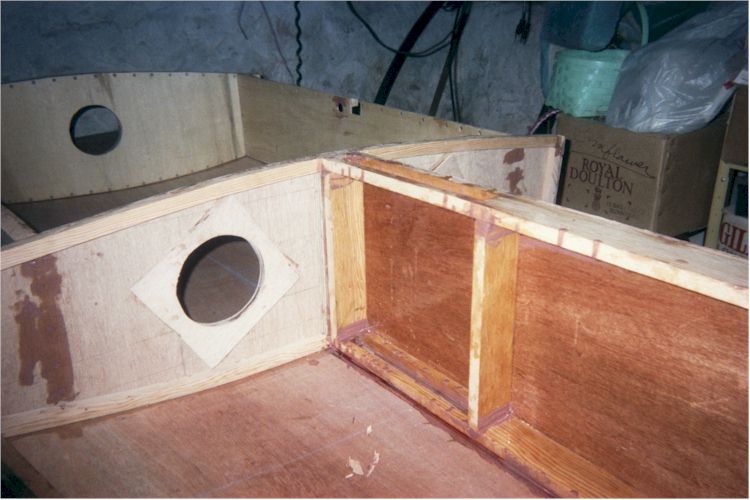
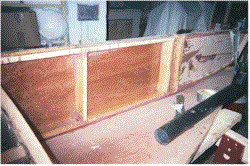
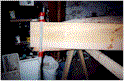
8-Nov-00

Gluing on backers for holding screws |
Add on another piece of wood
aft of the dagger-board in the dagger-board box. This should not only limit the
amount of water that goes into the box, but also add some strength as well.
Glue on additional layers of plywood behind my hatch covers and the forward bulkhead to
receive screws and to also allow for sealing the two front chambers from each other. |
3 |
|
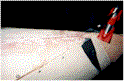
9-Nov-00
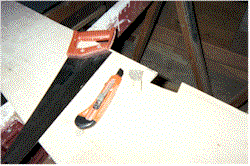
Cut out for Dutchman
Glue in patch |
Since the daggerboard had a
nasty knot in it, I cut it out and made a "Dutchman" out of another piece to
patch the hole. |
1 |
|
| 10-Nov-00 |
My first adventure with
epoxy. Put a first coat on the inside of the mast dagger-board box. Use some
filler to thicken the epoxy up for filling holes. I must not have thickened it
enough as it was still runny. |
1.5 |
|
12-Nov-00
Duct Tape - The handy-man's secret clamp
Separate dagger-board chamber |
Add second coat of epoxy on
the inside of the mast dagger-board box. Put a first coat on the other side of the
box yet to be attached. Get the filler combination better and fill screw-holes etc
in places where they aren't very visible.
Fill in the gouges on the dagger-board with thickened epoxy and attach the dagger-board
box and bow bulkhead to the hull. Leave the last 12 inches un-attached and use some
duct tape to bend the hull up a bit to ensure a good bond. |
5 |
|
13-Nov-00
Dagger-board box Drain Hole |
Sand the daggerboard and use
epoxy to glue on the handle.
I also drilled a drain hole in the sealed chamber in the mast-daggerboard box to allow for
water to drain and for air expansion. |
2 |
|
15-Nov-00
Making the taper
My Kingdom for more clamps |
Make bow taper. I used
lots of epoxy and filler to make sure that I got a good bond. Since the bow frame
was a bit out of alignment since I had attached it to the mast dagger-board box, I
straightened it here. as well. The excess epoxy "glue" I used to start
filling in screw holes in the hull. I also used some clamps to hold the hull in
place after attaching it as there is a fair amount of pressure on the joint. |
1.5 |
|
| 18-Nov-00 |
Cut out hole in hull for the
dagger-board and make sure it fit. Sand the epoxy-coated plywood for the remaining
side of the dagger-board box along all joints and glue it on using thickened epoxy.
Also glue down a small piece of plastic to be a "sacrifice" piece on the bottom
of the mast hole.
Spend some time fairing the side stringers on the aft end in preparation to adding the
hull sides using a block plane. |
2 |
|
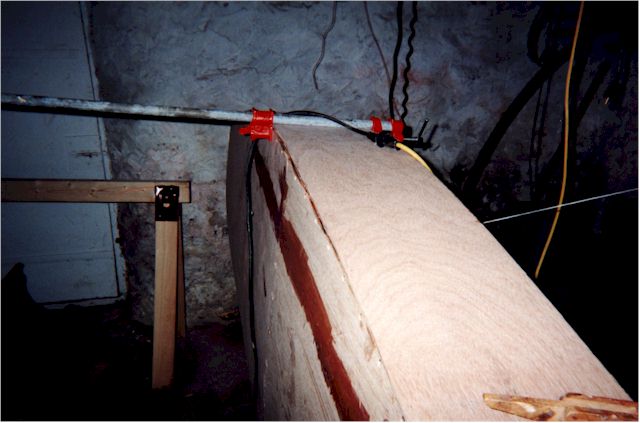
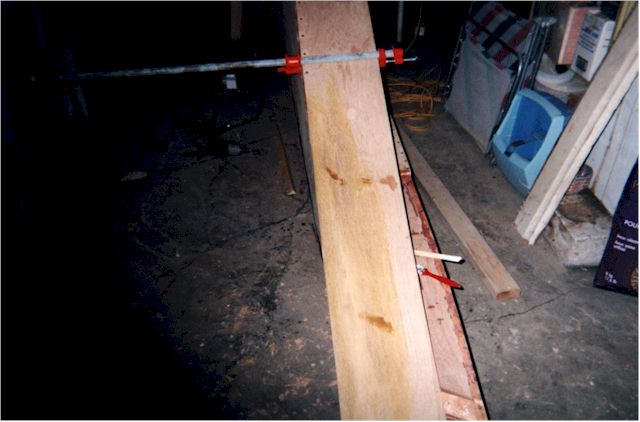
24-Nov-00
Attach Port Side - Using pipe clamps to force side to hull inch by inch |
Attach the hull side on the
port side of the boat. This was done with some care because of the way I joined the
two parts of the side piece with a lap joint. If I had to do it again, I probably
would still use the lap joint, but glue the pieces together as I put the sides on with
epoxy. Once I got to the bow frame, there was quite a bit of work required to make
the side follow the curve of the hull. Pipe clamps worked fairly well for this.
NOTE: This is where I made a mistake. The I aligned the side with the
hull all the way up. According to the instructions, I should have stopped 20"
from the bow and allowed the sides to go below the hull. This caused problems
aligning the bow as well as the bang that happened because I was forcing the
parts.
NOTE2: Further reading of the plans indicated that I should have waited to attach the
sides to the cockpit bulkhead until after they were attached to the bow. Perhaps
this would have made this task easier. |
2 |
|
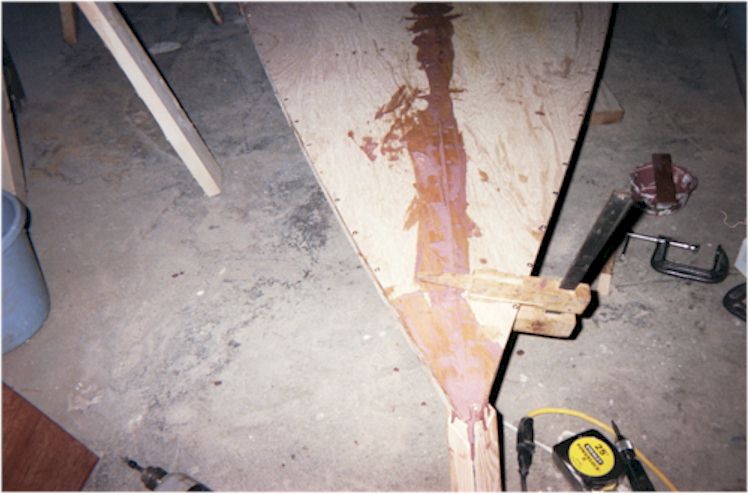
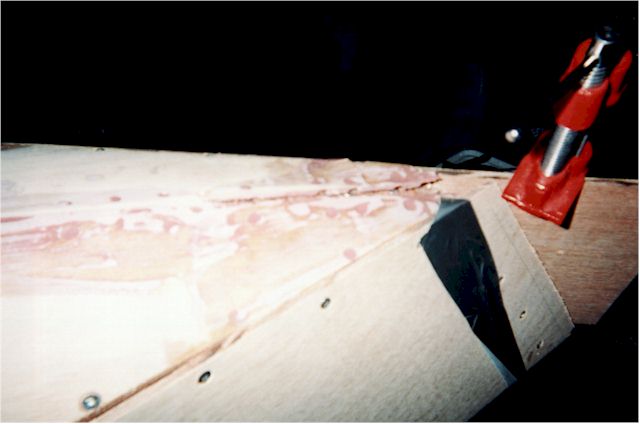
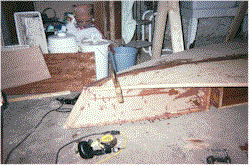
25-Nov-00
Attaching Starboard Side - Part 1
Attaching Starboard Side - Part 2
And so - the hull breaks

Broken bits cut out and everything slathered with thickened epoxy
Stiffen Hull Sides from Lap Joint
Brace Sides Out When Drying |
Attach the starboard side of
the hull. This went a bit smoother in some ways since I had my technique down a bit
better. I ended up using some duct tape as additional clamping to hold my pipe clamp
on on the bow frame. I had a major heart failure when the hull broke free from the
bow frame due to the pressure from curving the side. I removed the broken bits,
finished attaching the sides and then filled in the missing piece with some scraps and
lots of epoxy and putty. Hopefully this helps. The instructions call
for making sure that the bow frame is vertical at this point. How to do that while
clamping and swearing, I'm not sure. If however, I had attached the sides
temporarily with nails to the bow frame while attaching it to the hull, I might have
avoided this failure. I also noticed that the hull sides bow IN in the front of the
boat, rather than out. Checking the instructions though, there's a note that you
have to force the sides out when attaching the deck. Hopefully, this is what they
are talking about. I've attached temporary braces anyway to make sure the glue sets
with the hull in this shape. I also glued "stiffeners" to the inside of
the sides, especially where I had made my lap joint. I still like the looks of this
joint, but I think interior blocking is required to give it enough strength. While I
had the glue mixed, I also attached pieces of fir left over from cutting the centre panel
joiner out to act as additional supports for the mast tube. These are rather larger
than the spare stringers that the plans call for, but I think this is an area that could
stand additional reinforcement anyway. See Note November 24th. |
2 |
|
| 26-Nov-00 |
Do a test fit of the deck
with the sides on. It looks like there will be quite a bit of bending required on
the forward part of the deck (the infamous bow frame taper) to make it fit. At the
very bow, I'll install the deck almost flat, but there is a fair bit of bow down from the
frame (13") to the sides (9") For the entire length of the bow frame, this
will be a fairly severe bend. I'll have to do it slowly or perhaps fabricate some
sort of band clamp to help. |
.5 |
|
| 1-Dec-00 |
I'm now down to a little over
a box of 3/4" screws and 6 - 1" screws. Somewhat to my surprise, a local
Home Hardware - Morrisons Home Hardware in Owen Sound not only had screws in stock in
bins, but also special-ordered me in what I needed at a better price. I picked up
300 X 3/4" and 100 X 1" screws. That should be lots to finish this off
with.
| 3/4" SS Screws |
7.99/box |
| 1" SS Screws |
8.49/box |
|
|
37.33 |
10-Dec-00
Attach Transom
Aft Deck doesn't fit - Where did I go wrong?
ForeDeck doesn't fit either - Go figure

The design Engineering staff and I trying to figure out why the deck doesn't fit |
Flip the boat hull-side up
and attach the gusset/stringer for the bottom of the transom. Flip the boat
right-side up and attach the transom to the hull. I did this in one shot in order to
have any flexing of this stringer happen before the glue dried on the first section.
I also attached bevelled stringers on the side of transom, to attach it to the
sides. I used scrap bevelled stringers, which turned out to be bevelled at the wrong
angle, but I'm planning to go around and fill all the gaps with thickened epoxy as soon as
I have the top side stringers on. The
plans call for doing a test fit of the aft portion of the deck to line up the angle of the
transom. After much fiddling and fussing, it turns out that this won't work for me.
I'm not really sure why, but I think I've made a mistake of some sort in the
cockpit. With the aft deck in the proper spot, the hull sides would have to be bent
in significantly. At this point then, the transom misses the top of the sides by
about 1". SO - I decided to heck with it, and fitted the transom so that it met
the top of the sides at the proper point. During the test fit of the deck, the bow
was about 1-2" too far forward when centred on the panel joiner. I've ended up
deciding to move the foredeck aft in order to have the bow line up. I've moved the
aft deck aft about 4" as well. Interestingly, although I now have a 2-3"
gap between the fore and aft deck pieces, the sides line up well to the deck shape.
What I'm planning on doing is to attach the deck in those spots and then construct a
joiner piece out of scrap to fill the gap. I'll also have to add extra supports
under it to make sure that I can sit on that part.
Note: After much fiddling and fussing, I
decided to re-draw the aft deck to the measured dimensions, not the plans. Also,
upon re-reading the plans, they said to trim the foredeck, so I'm attaching it to the
joiner slots and the new aft deck will marry up there properly. |
4 |
|