I discovered Gavin Atkin's MouseBoat design while building my first One Sheet Skiff.
It's a "one sheet" double paddle boat with a fair bit more capacity than
the skiff and designed to be built using the stitch & glue method.
Since epoxy is $100/gallon here (plus the cost of the hardener), I decided to try
to build a mouse using PL Premium construction adhesive, external chine logs and 3/4"
X 3/4" framing pieces. I also cut the framing pieces in such a way as to not
have any exposed plywood edges - at least that's the plan.
For more information on MouseBoats, I would recommend you check out the Yahoo MouseBoats group, and Gavin's web pages.

Click to subscribe to mouseboats

Materials consumed - this is a rough estimate - I haven't tracked things as well as
with the other boats:
Date |
Event |
Time Used |
| 3-Jan-03 |
Pick up 3 sheets of Luan
underlayment and some boxes of 5/8" #8 screws at Welbeck. I probably won't need them all,
but it's better to be safe. |
|
4-Jan-03 -
8-Jan-03
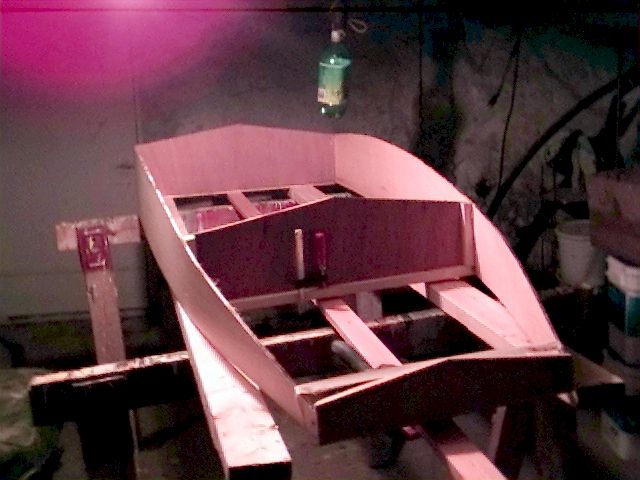
Sides Assembled and clamped to centre line 
Closeup of stringers at transom |
Cut and assemble the sides,
bulkheads and transoms. I allowed for 3/4" chine logs and a 1/4" border
for the stringers on the transoms and 3/4" on the bulkheads. I did make a mistake not bevelling the sides of the
stringers where the sides meet the bow and transom, but I filled the gap with glue so it
should hold. For some unknown reason I had thought the sides were straight.. The bevels
for the hull at the transoms are bang on since I drew and cut them during a dry-fit. I
held the transom in place with the stringers attached and marked the bevel that I wanted.
I removed the screws from the bottom stringers, ran the piece through the table saw
and shazam - an almost pretty good fit. I put the screws back in after assembly.
One trick that I discovered that I wish I'd
known a couple of boats ago was to lay a 2X4 on the outside of the sides and clamp the
sides to them to hold them vertical. That kept them from flopping around while I was
attaching the bulkheads. I also laid a board along the centre line of the bulkheads and
transoms and clamped them to keep everything straight as the glue dries.
Note: I found out later that
I forgot to allow an extra 1/4" on the transoms - I ended up with exposed plywood -
but no worries. |
5 |
| 11-Jan-03 |
Rip and attach the chine
logs. The boat is now much stiffer. I was worried that the glue would try with
the boat perhaps out of square so I clamped it to a bunch of boards to keep it flat and
square. |
3 |
13-Jan-03
14-Jan-03
A Leaky Canoe
A Non Leaky Canoe |
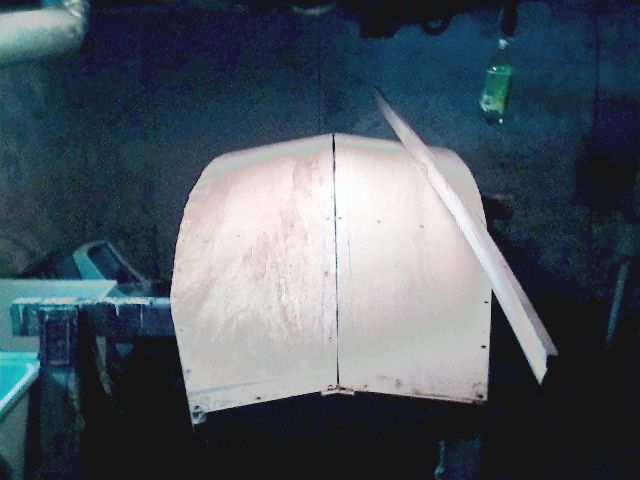
Cut and install the bottom
pieces and the keel strip. This was one of the steps I was most worried about.
I laid out the inner cut for one side and verified the curve by laying the piece on the
hull. Then I cut it to length. Sadly I made a mistake here and had to try
again. Fortunately, the side I mis-cut ended up fitting pretty well on the opposite
side once I flipped it over. The colour on the panels don't match, but I was
planning on painting the bottom anyway. I ended up with a maximum gap of about
1/4" along the keel. To cut the outer edges, I tacked the hull piece in place
with finishing nails and scribed the outer edge. To make the keel strip I used a 1 X 3 (actually 3/4" X 2 1/2")
and cut a "V" in the bottom of it using my table saw. I laid it in place,
marked the outer edges and then screwed it into place with lots of PL Premium. |
3 |
| 16-Jan-03 -
19-Jan-03 |
Start fairing the bottom
edges at the chine logs. Use PL Premium as an experiment on the inside of the
floatation chambers to caulk the edges and the gap at the keel. It worked not badly
as long as I didn't spread the adhesive around - that causes it to bubble. I also
used a hand-saw to cut the bottoms off of the transoms so that they were fair to the hull.
If I had allowed for the exposed stringer edges, this would not have been
necessary. For the keel gap in the
cockpit, I mixed some fine sawdust with epoxy and filled it. It should be fine with
that. |
2 |
| 22-Jan-03 |
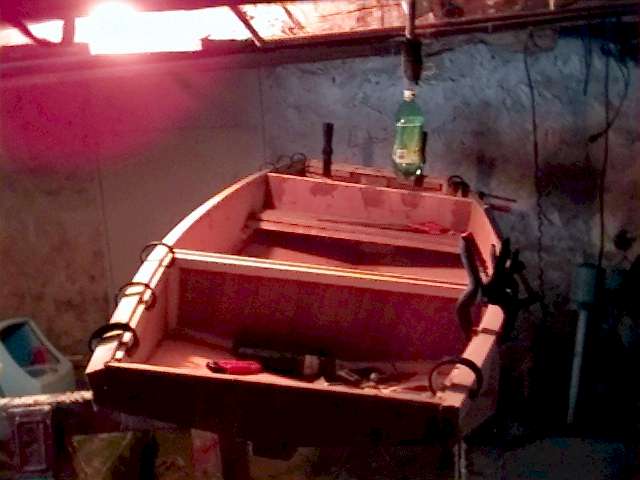
Spend some time measuring
people's rear ends and attach side cleats to the hull about 2" up from the bottom for
the seat. Cut out seat pieces for a 12" deep seat but do not glue them in
place. |
1 |
25-Jan-03
Lots of Clamps
Side View |
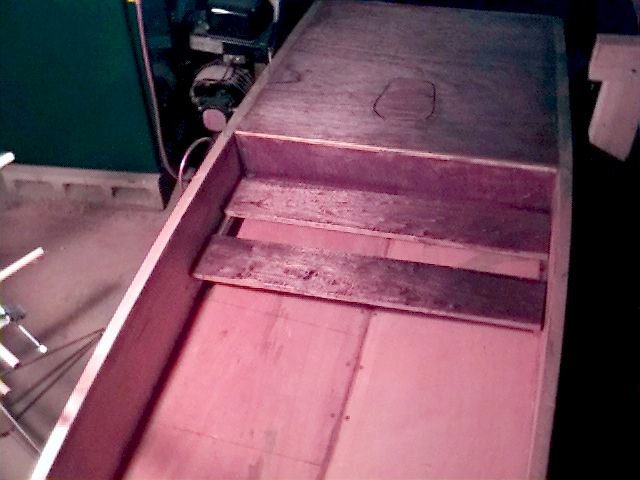
Cut the sheer clamps from
some spruce 2X4s and attach them. Use some scraps 1/4" thick to make a ledge on
the inside of the sides for the decks to rest on. |
2 |
26-Jan-03
Ready for sealing |
Fill in screw holes, put a
coat of epoxy on the inside of the floatation chambers and cut the fore and aft deck from
some scrap 1/4" ply from another project. |
2 |
31-Jan-03 -
01-Feb-03
Ready for sealing
Ready for sealing |
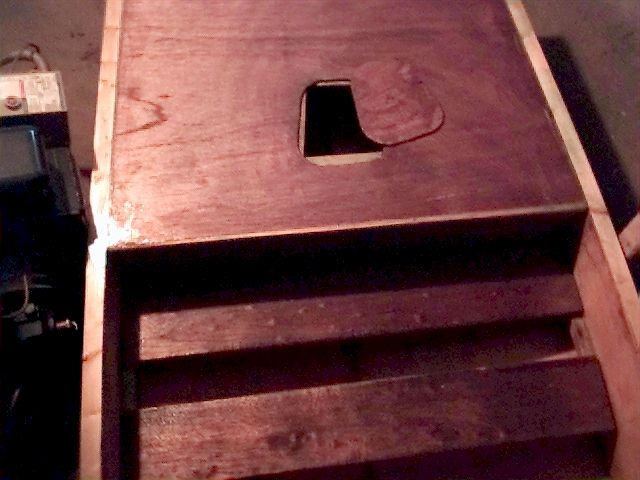
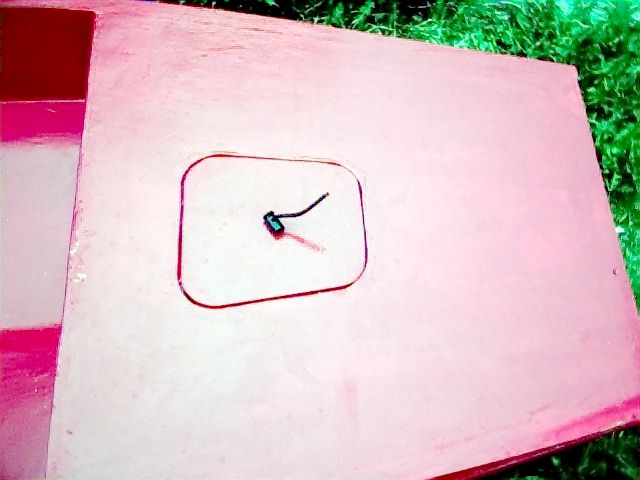
Sand the inside of the
cockpit, cut out hatch covers, plane tops of gunwales to match the top of the deck. |
3 |
31-Jan-03 -
01-Feb-03
Ready for sealing
Ready for sealing |
Sand the inside of the
cockpit, cut out hatch covers, plane tops of gunwales to match the top of the deck. |
2 |
02-Feb-03
Skeg |
Sand the hull bottom and fill
more screw holes. Attach a small skeg. Epoxy the insides of the deck. |
2 |
| 3-Feb-2003 |
Attach the decks using PL Premium and clamps (and weights) so as to not
have screw holes to fill on the deck. |
.5 |
| 4-Feb-2003 |
Fill gaps around deck with epoxy thickened with fine sawdust. |
.5 |
| 5-Feb-2003 |
Use my remaining epoxy to apply a thin coat to the hull. |
1.5 |
| 7-Feb-2003 |
Use (shudder and gasp) polyester resin from an old auto-body repair kit
to coat the deck, chine logs and sheer clamp. Boy that stuff stinks. |
1 |
| 8-Feb-2003 |
Pick up another can of polyester resin and cost the inside of the cockpit
and the sides of the boat.
The boat is now set aside for a couple of weeks so that the resin can completely cure.
I weighed the hull and it comes to 41lbs. |
2 |
|
|
| 26-30-Apr-2003 |
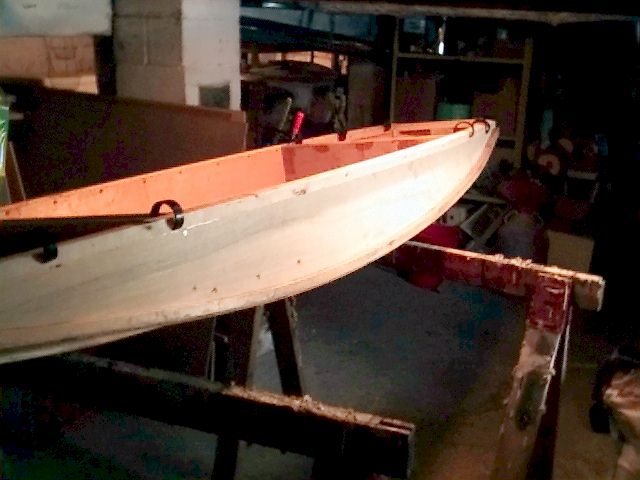
It's out of the basement, primed with exterior latex, and 2 coats of
Tremclad on the bottom. |
3 |
| 3-May-2003 |
2 coats of Tremclad red on the hull. Attach the deck hatches with
shock cord. |
3 |
| |
TOTAL |
36.5 |
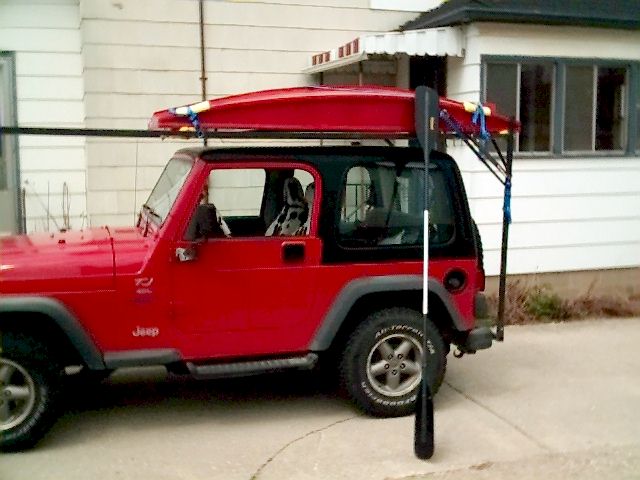
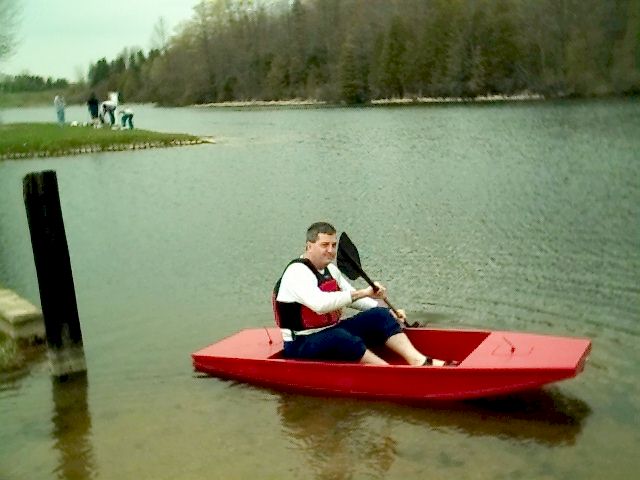
May 10, 2003 - Mouse #78 - Launch Date
Saugeen River - Chesley, Ontario
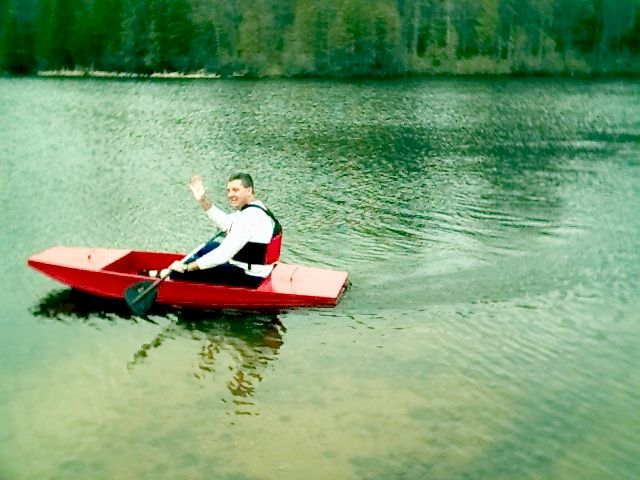
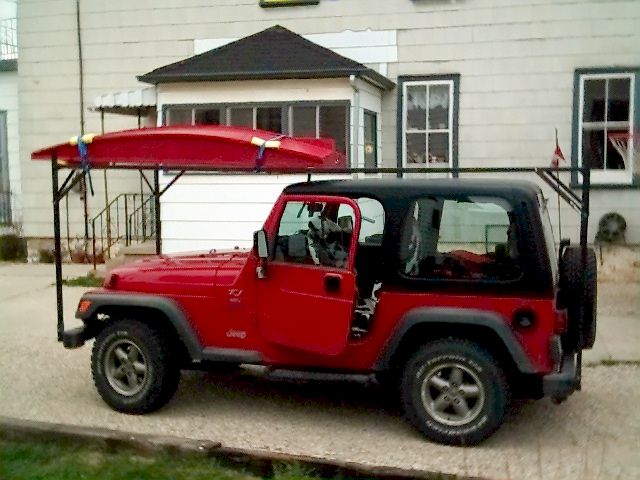
Launch of the mouse-boat was successful with very few hitches. I
found loading the boat on the back of the roof rack was a bit less secure than the front
and scuffed up the paint a bit during loading and unloading. Even with my 210lbs
aboard, the little boat performed well.
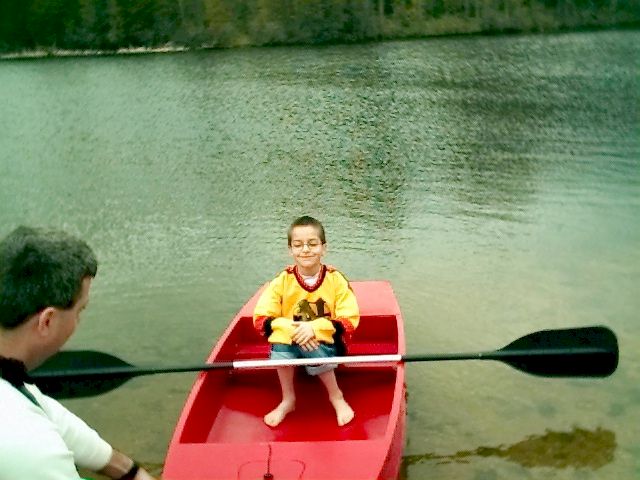
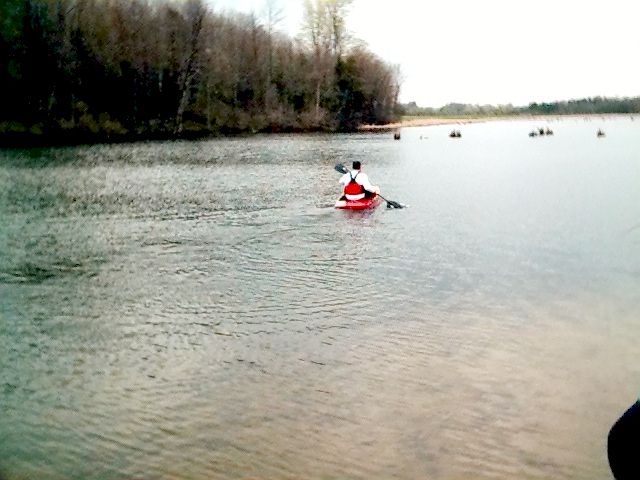
If I build another one, there are a couple of minor changes that I would
probably make. A slightly larger skeg would improve tracking which wasn't too much
of an issue except when having to paddle upriver against the wind. Also, moving the
bulkheads forward by about 3 or 4 inches would balance the boat out better with my bulk on
it.
|